christmas nail art tutorial step by step
With practice this will not be difficult at all. Its recommended you dispose of extra bleach when youre done or it may warp the bottles and.

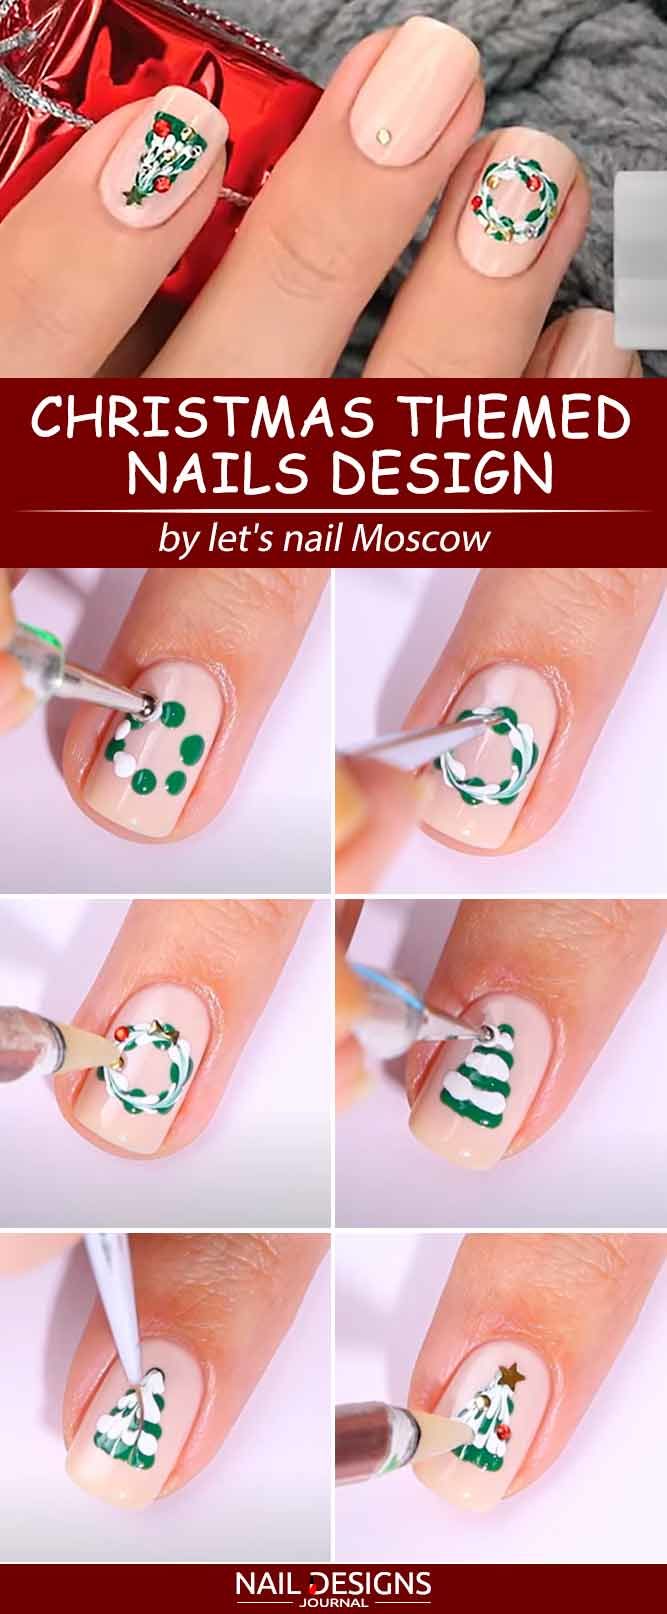
Easy Christmas Nail Designs Tutorials 2021 2022 Step By Step Nail Designs Tutorial Christmas Nails Easy Simple Nail Designs
Mix your liquid bleach with water in your spray bottle using a 11 ratio.
. This step will help you set up the base that you will use to create your tree. Then streeeetch the LINING and pin it in place evenly along the dress neckline. You could do this step beforehand but it leaves you open to accidentally getting some on your hands and ruining your shirt when handling it.
To distress paper lightly rub using medium-grit sandpaper. It can be embroidered using vintage transfers or embellished. It could even be made with two totally different sides.
A Tutorial on creating a little dress of a kitchen towel that hangs nicely over your stove handle. Then trim the seam allowance and tuck the LINING inside the dress and iron in. Mix the Bleach and Test.
For holiday and year-round celebrations we have a wide selection of German folk art from the Erzgebirge and hard-to-find. For all the Batman fans we have something for you too Batman nail artwork. Adhere papers to the star using a glue stick.
Using a hammer pound the nails into the board. If its your daughters birthday or you need to visit a Disney-themed party then this would be an ideal pattern. Any later and you wont be able to clean up the edge of the glitter tumbler which you can do with a little paper towel and rubbing alcohol Step 8.
For this tutorial I will be using. We are proud to offer natural wooden toys art supplies Grapat mandalas and toys Ostheimer figures Fagus trucks Grimms blocks puzzles and birthday rings Wobbel boards Mader tops organic stuffed animals and childrens gifts from Europe and beyond. Fold-down the center to make aligning easy.
Combine two Christmas favorites stars and plaid for one stunning and easy Christmas ornament. This dressed up dish towel is double sided. One side for cupcakes one side for ice cream.
The distance between the nails should be about 12 wider than the desired height of the tree you are looking for. This base can be reused for any future trees you may make so you may want to hang on to it after you are done. Place the NECKLINE LINING on the dress with right sides together matching up the side seams of the LINING with the shoulder seams of the dress.
Start with a cardboard star and for each spoke fold plaid paper over the star and cut to fit. For a little sparkle hot. After at least five hours tape your tumblers and sand them.
Another step-by-step Halloween theme nail art design tutorial that any beginner can create. Remove your tape after 30 minutes and before 45 minutes Its important you remove your tape between 30-45 minutes. Imagine one side for Halloween the other side for Thanksgiving.
Sew around the entire neckline with a straight stitch.
Heart Warming Christmas Nail Art Tutorials Nail Designs Journal

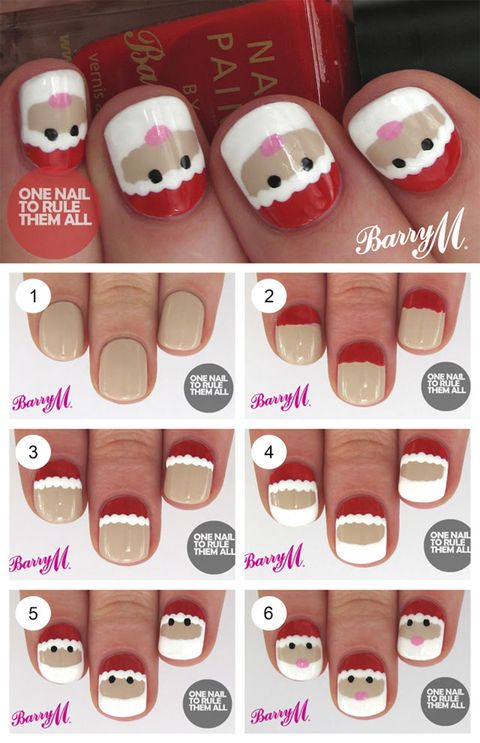
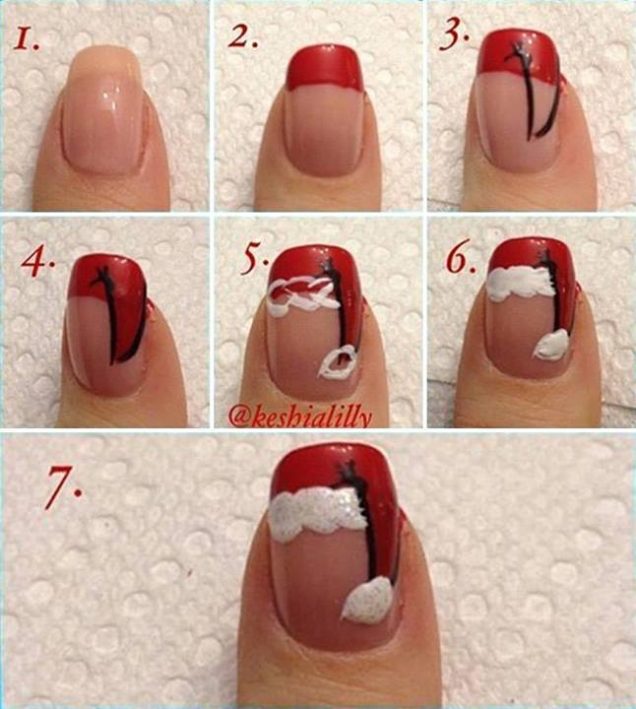
Santa Nail Art Tutorial Nailbees
Christmas Nails 14 Easy Festive Nail Art Designs For 2017
Christmas Nails 14 Easy Festive Nail Art Designs For 2017

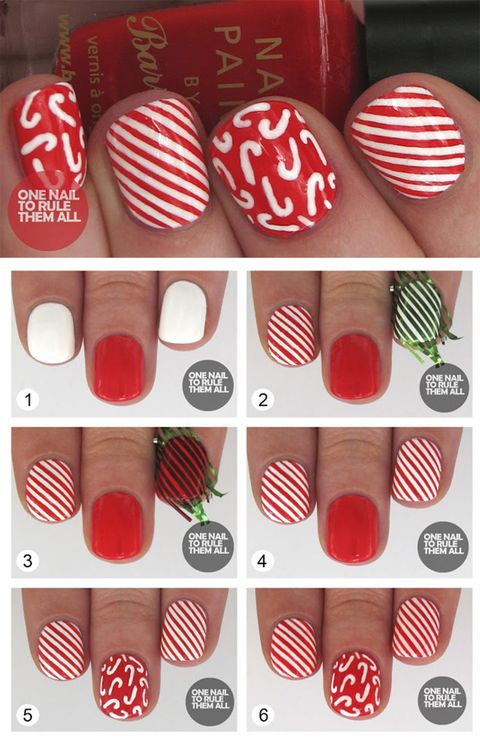
Mix N Match Christmas Nail Art Tutorial
20 Cutest Christmas Nail Art Diy Ideas
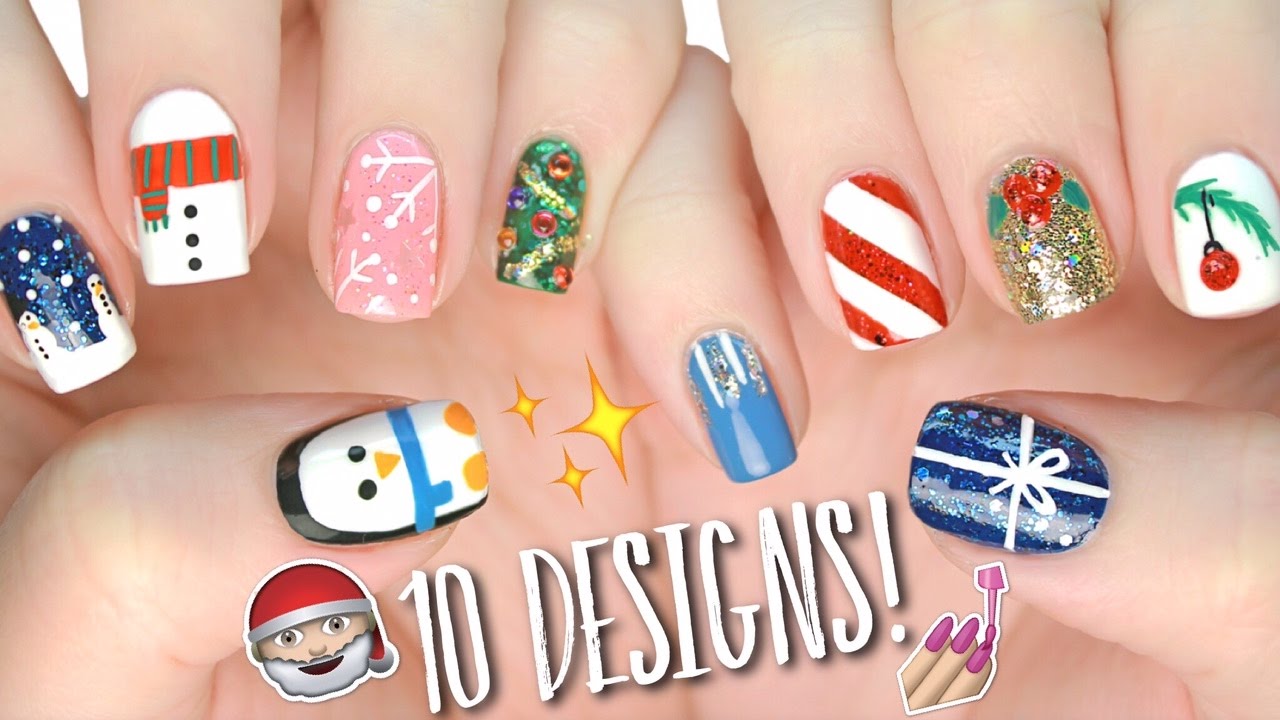
10 Easy Nail Art Designs For Christmas The Ultimate Guide 4 Youtube
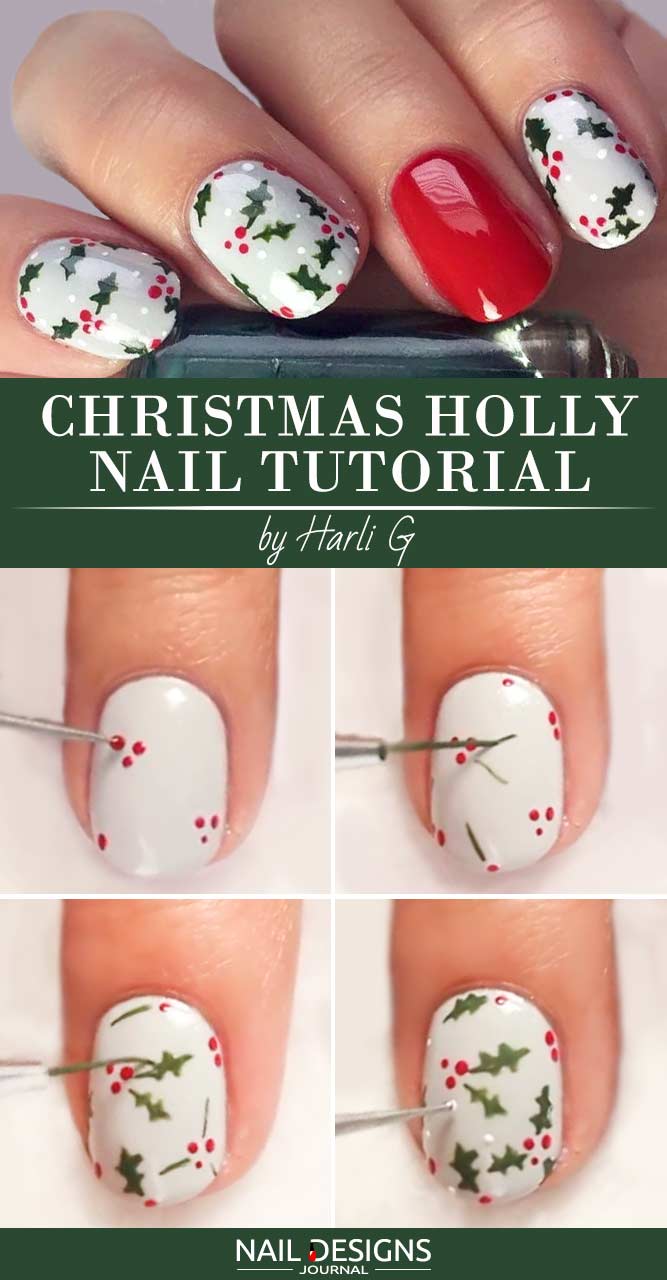
Heart Warming Christmas Nail Art Tutorials Nail Designs Journal
0 Response to "christmas nail art tutorial step by step"
Post a Comment